You grab a paper cup for your coffee every day without a second thought. But have you ever wondered how that flat piece of paper becomes a leak-proof cup?
Paper cups are made from plastic-coated paperboard1 that is printed, cut into fan shapes, and then formed. The pieces are heat-sealed2 into a cone, a bottom disc is attached and sealed, and the top rim is rolled for strength before the final cup is inspected.
It's a journey of high-speed precision engineering. From the raw paper to the finished cup in your hand, every step is carefully designed to make sure your hot drink stays right where it belongs. To really understand it, we need to look at each stage of this fascinating process, starting with the magic that makes paper waterproof.
How does paper hold liquid without getting soggy?
You know that plain paper turns to mush when it gets wet. So how does your coffee cup stay firm and strong? The secret is a hidden layer.
Paper cups hold liquid because they are coated with a very thin layer of plastic, usually polyethylene (PE) or a plant-based plastic called PLA. This barrier is bonded to the paper, making it waterproof and allowing the seams3 to be heat-sealed2 together.
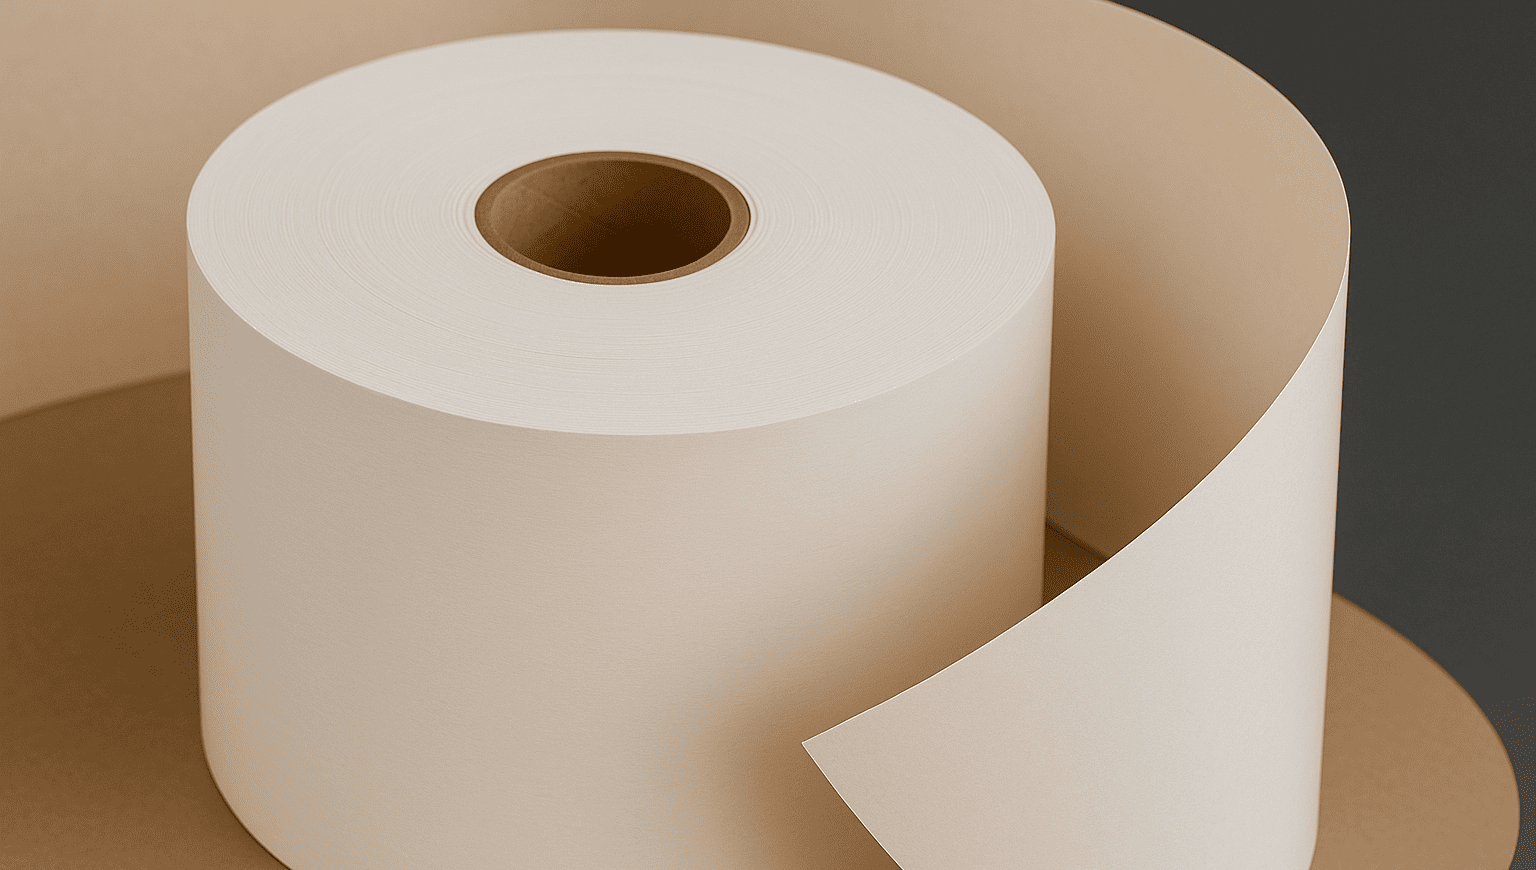
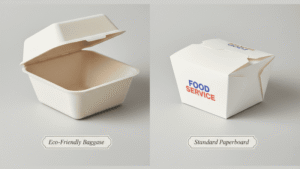
The process starts with a special, sturdy paper called "cupstock paperboard4." This paper then goes through a process called extrusion coating5. I like to imagine it as a machine spreading a super thin, hot layer of liquid plastic over the paper, which then cools to form a solid, waterproof barrier. This coated paper is the foundation for every cup. I used to think the "eco-friendly" PLA cups were totally different, but they're made in a similar way. The main difference is that PLA requires more precise temperature control during sealing; if the heat isn't perfect, you can get a leaky cup. A newer alternative is a water-based coating6, which is great because it makes the cups easier to recycle.
Here's a quick comparison:
| Coating Type | Base Material | Key Feature |
|---|---|---|
| Polyethylene (PE) | Petroleum | Very durable and easy to heat-seal. Most common type. |
| Polylactic Acid (PLA)7 | Plants (e.g., corn) | Compostable in industrial facilities, but needs precise sealing. |
| Water-Based | Water + Polymers | Easier to repulp and recycle than plastic coatings. |
How is the cup's shape actually formed?
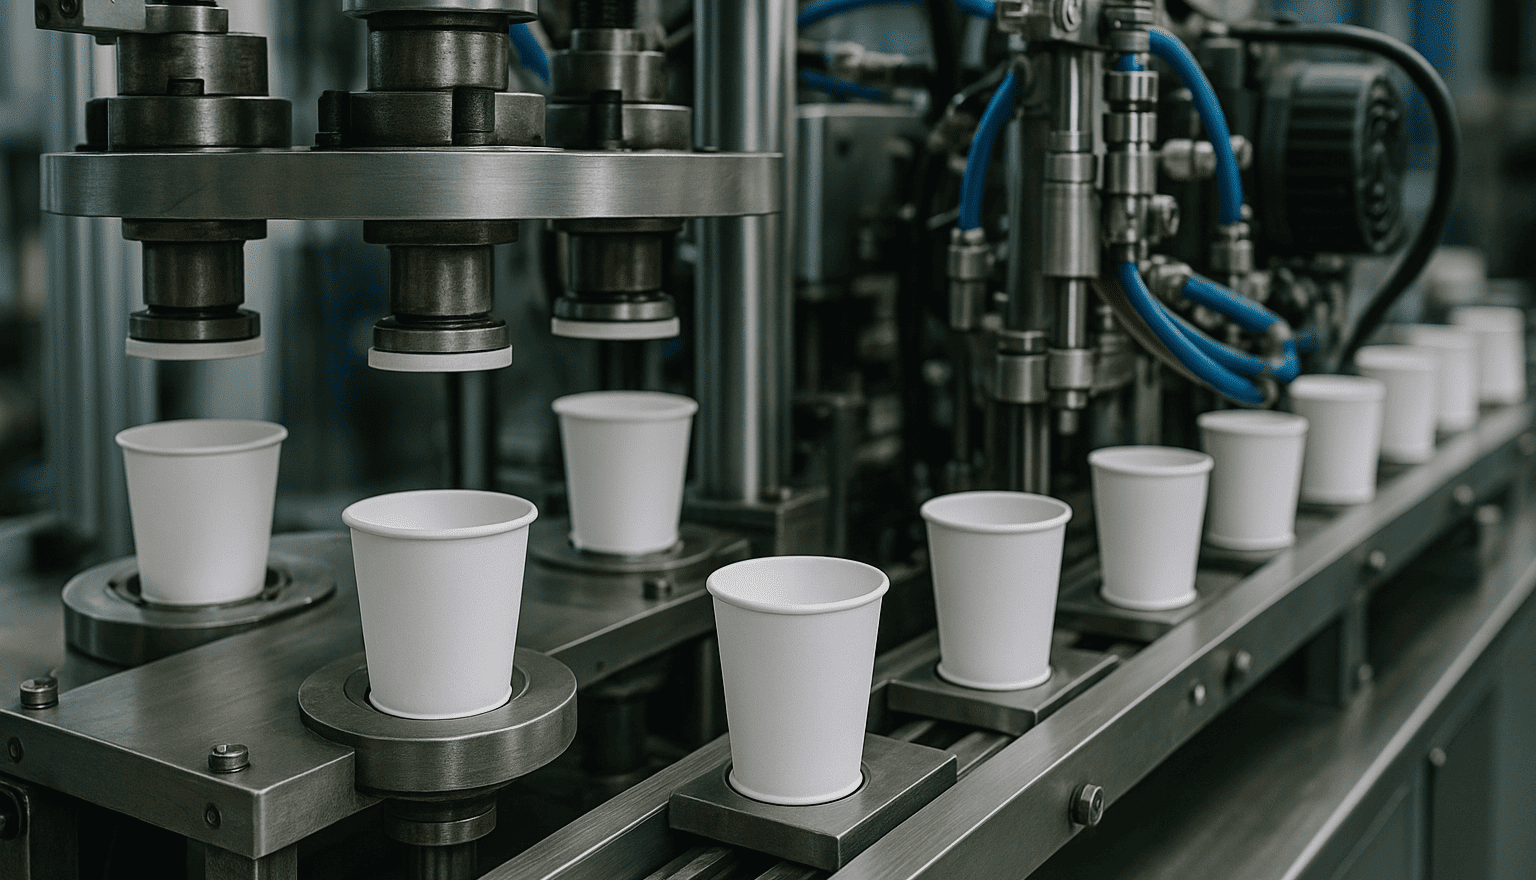
The paper is now waterproof, but it's still just a flat, printed sheet. How does it magically become a cup? The process is a high-speed dance of machinery.
After printing graphics8, machines die-cut the coated paper into "sidewall blanks." These flat, fan-shaped pieces are then wrapped around a cone-shaped mold. The overlapping seam is heat-sealed2, using the plastic coating to fuse the edges together and form the cup's body.
Once the giant rolls of coated paper are printed with logos or designs, they are fed into a machine that acts like a giant cookie cutter. It punches out the fan-shaped "sidewall blanks" at an incredible speed. These flat blanks are then sent to the forming machine. I saw a video of this once, and it's mesmerizing. Each blank is grabbed, wrapped tightly around a metal cone called a mandrel, and the seam is sealed in an instant. The heat melts the plastic coating on the overlapping edges, effectively welding them together. Some modern factories use ultrasonic sealing9, which uses high-frequency vibrations to generate heat just at the seam. This method uses less energy and is even faster.
The process of forming the cup's main body involves these key steps:
- Printing: Graphics are printed onto the flat, plastic-coated paperboard1.
- Die-Cutting: The printed paper is cut into fan-shaped sidewall blanks.
- Forming: Each blank is wrapped around a cone-shaped mandrel.
- Sealing: The overlapping seam is sealed with heat, ultrasonics, or induction to create a strong, permanent bond.
How is the bottom attached so it doesn't leak?
A cup without a bottom is just a paper sleeve. The bottom seal is the most critical part. If it fails, you have a disaster. So how is it made so strong?
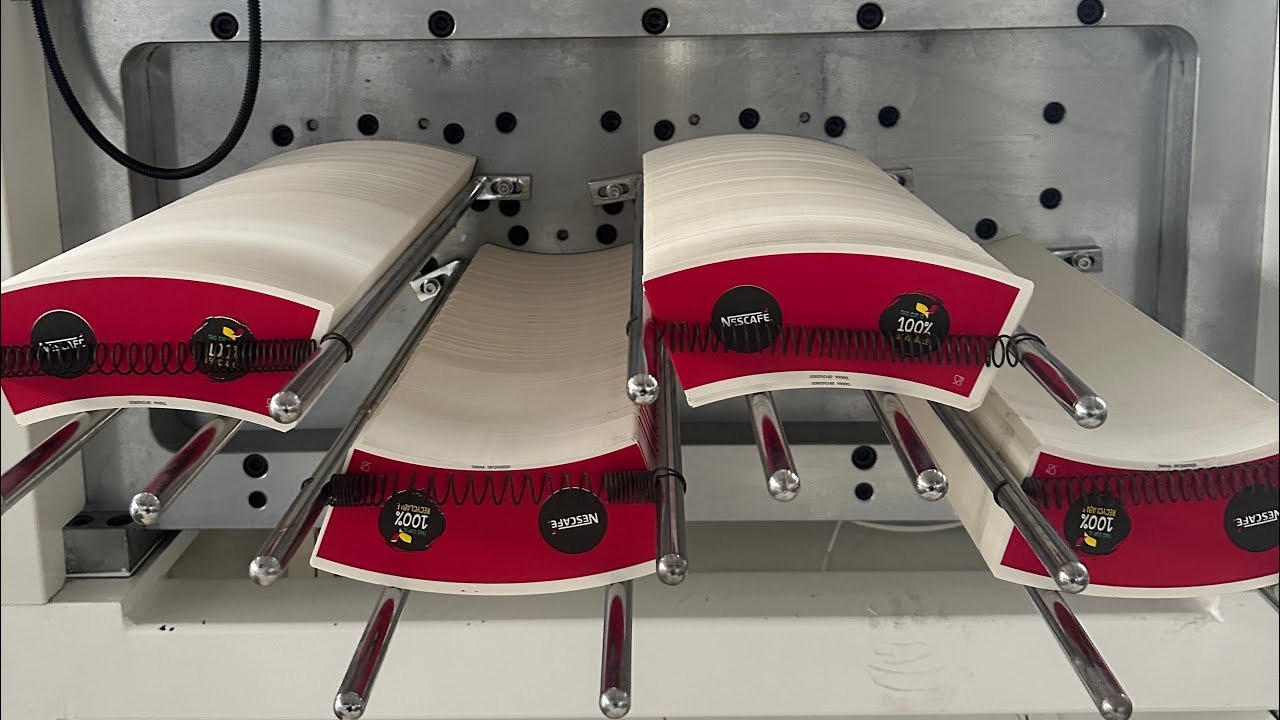
A separate circular piece of coated paperboard is punched out to form the bottom. It's inserted into the bottom of the cup cone, then heat and pressure are used to seal it to the sidewall. The edge is then curled and pressed (knurled) to create a strong, leak-proof joint.
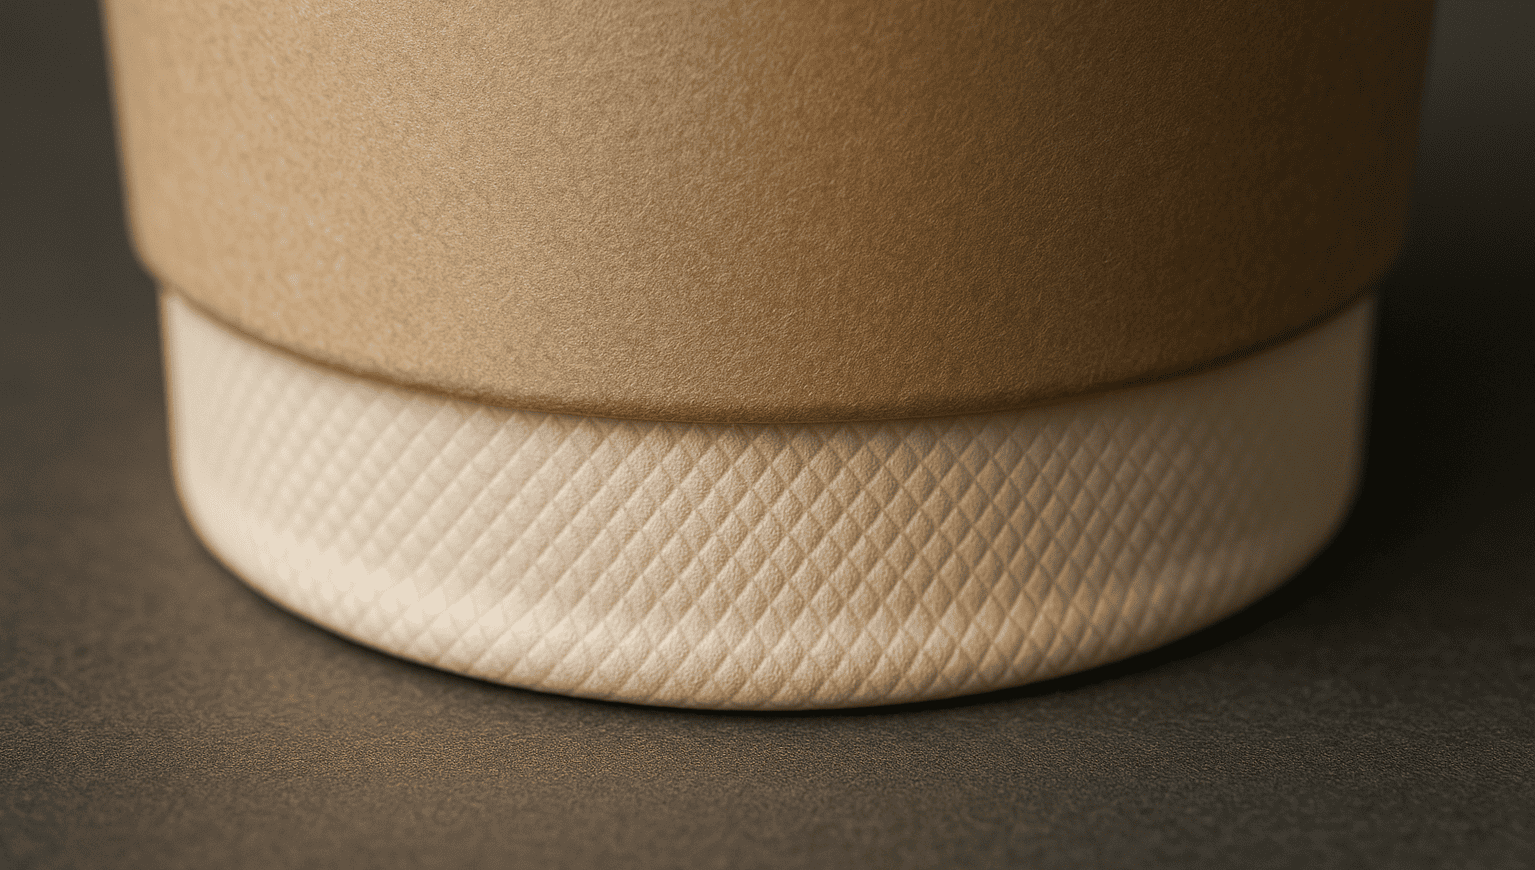
This is where the real engineering magic happens to prevent leaks. While the sidewalls are being formed, another machine is punching out small discs from a roll of coated paper. These discs will become the bottoms. The cup cone, which is still on its mandrel, is moved to the next station. A bottom disc is inserted, and then heat and pressure are applied to seal it to the folded-in edge of the sidewall. But it doesn't stop there. The crucial final step is "knurling10." A tool presses and curls the bottom edge, creating the distinctive textured ring you see on the bottom of a cup. This not only heat-seals it but also creates a mechanical lock11, making the joint incredibly strong. One thing I learned is that the paper's moisture content has to be just right. If it's too dry, the paper can crack during knurling10, leading to slow leaks later.
The bottom-sealing sequence is precise:
- A round bottom piece is punched from coated paper.
- The piece is placed inside the bottom of the cup cone.
- Heat is applied to the area where the bottom and sidewall meet.
- Pressure is used to fuse the plastic coatings together.
- A knurling10 tool curls and crimps the joint to create a final, leak-proof mechanical seal.
What are the final steps before a cup is ready?
The cup is almost complete, but a few key steps are left. These details are what make the cup comfortable to drink from and ready for the coffee shop.
The final steps involve rolling the top edge to form a smooth, rigid rim for drinking and fitting a lid. After this, cups are automatically inspected for leaks and other defects before being stacked, sleeved, and shipped.
With the body and bottom securely formed, the cup moves to the rim-rolling12 station. Here, the top edge of the cup is carefully curled outward and then rolled down tightly. This is often done twice (a "double-roll") to create a smooth, rounded, and very strong rim. I never realized how important this step is, but that rim does three things: it makes the cup more rigid, it's more comfortable to drink from, and it provides a snug fit for the lid. After rolling, the cup is finally complete. But before it can be packaged, it has to pass a quality check13. High-speed cameras scan the cups for printing mistakes or forming defects. Some cups are pulled from the line and tested for leaks. Seeing it all broken down, it's amazing how much engineering goes into something we use for ten minutes.
The finishing touches include:
- Rim Rolling: The top edge is curled to create a strong, smooth rim.
- Inspection: Cups are checked for leaks, print quality, and structural flaws.
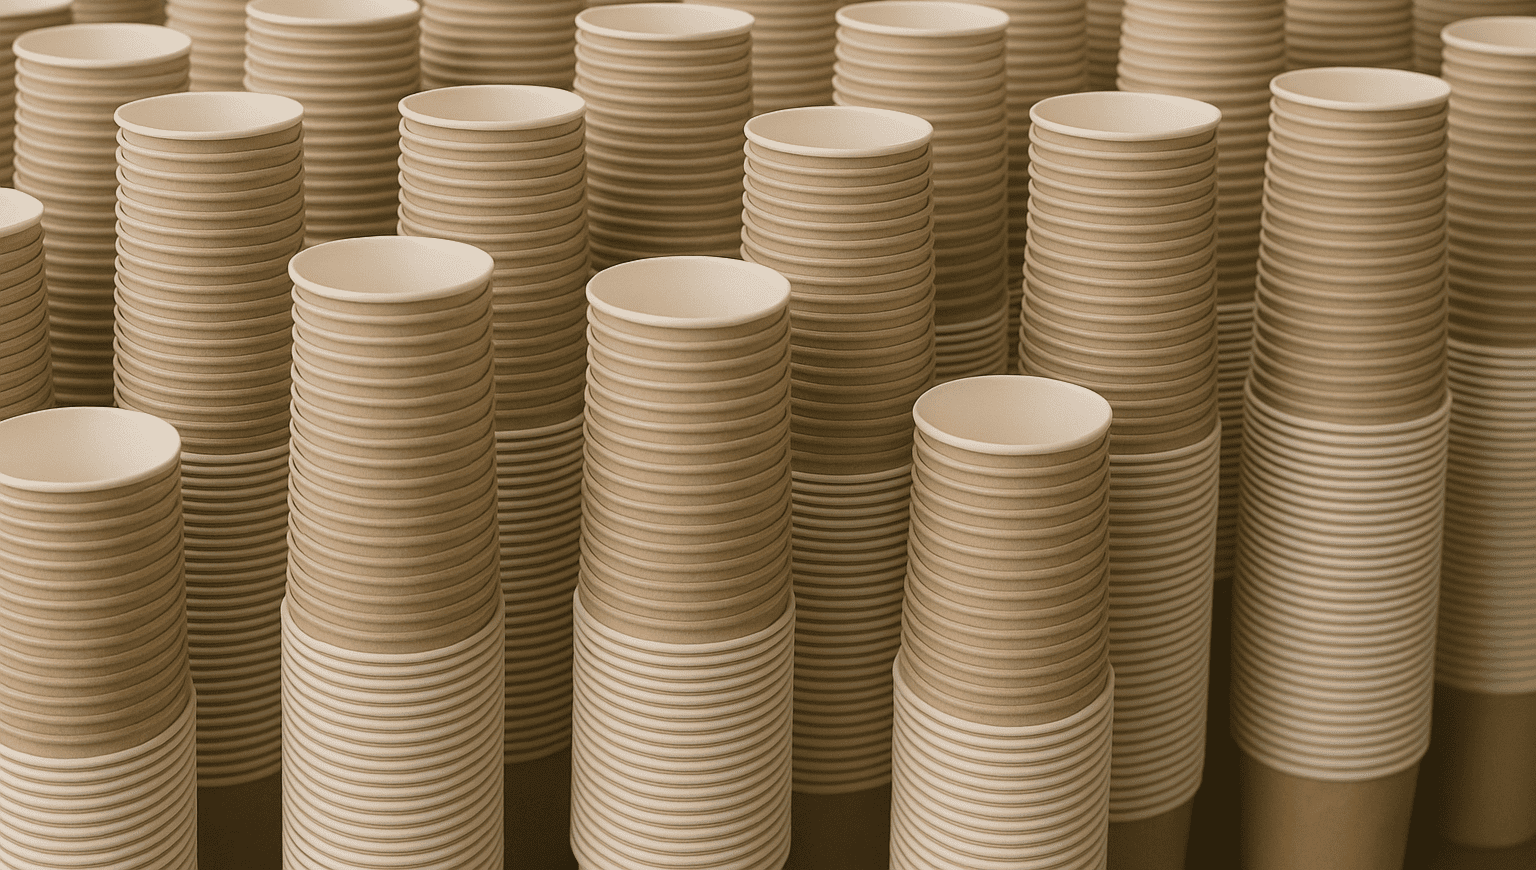
- Nesting & Sleeving: Finished cups are stacked together, wrapped in plastic sleeves, and boxed for shipping.
Conclusion
From a plastic-coated paper roll to a perfectly sealed and tested container, making a paper cup is a high-speed engineering marvel that ensures your drink stays safely inside the cup.
Explore how plastic-coated paperboard is essential in creating durable and waterproof paper cups. ↩
Learn about the heat-sealing process and its importance in creating strong, leak-proof packaging. ↩
Learn about the techniques used to seal seams in paper cups for durability and leak prevention. ↩
Find out what cupstock paperboard is and why it's crucial for making sturdy paper cups. ↩
Learn about extrusion coating and its role in making paper waterproof for various applications. ↩
Find out how water-based coatings enhance the recyclability of paper products, making them more sustainable. ↩
Discover the eco-friendly advantages of PLA and its impact on sustainable packaging solutions. ↩
Learn about the printing process for graphics on paper products and its impact on branding. ↩
Explore ultrasonic sealing technology and how it improves efficiency in manufacturing processes. ↩
Discover the knurling process and its role in creating strong, leak-proof seals in products. ↩
Discover how mechanical locks are used in manufacturing to ensure product integrity and strength. ↩
Explore the rim-rolling process and its significance in enhancing the usability of paper cups. ↩
Understand the importance of quality checks in manufacturing to ensure product reliability and safety. ↩